To install and activate WowRevenue, make sure that your system meets the minimum requirements. You can begin with the free version, and if you’re a Pro user, you can proceed with the Pro setup.
Below are the step-by-step instructions for installing and activating both the Free and Pro versions of WowRevenue.
If you need further assistance after reading this, never hesitate to contact us. We’re here and ready to assist!
Installation and Licensing of the Pro Version
WowRevenue Pro requires two specific plugins to be installed on your WordPress site before you can proceed with installation and activation.
- WooCommerce
- WowRevenue Free version
Once they’re ready, follow these steps:
- First, download the WowRevenue plugin file from your WPXPO’s Account Dashboard.

- Next, go to the Plugins section on your WordPress dashboard. Click Add Plugins.
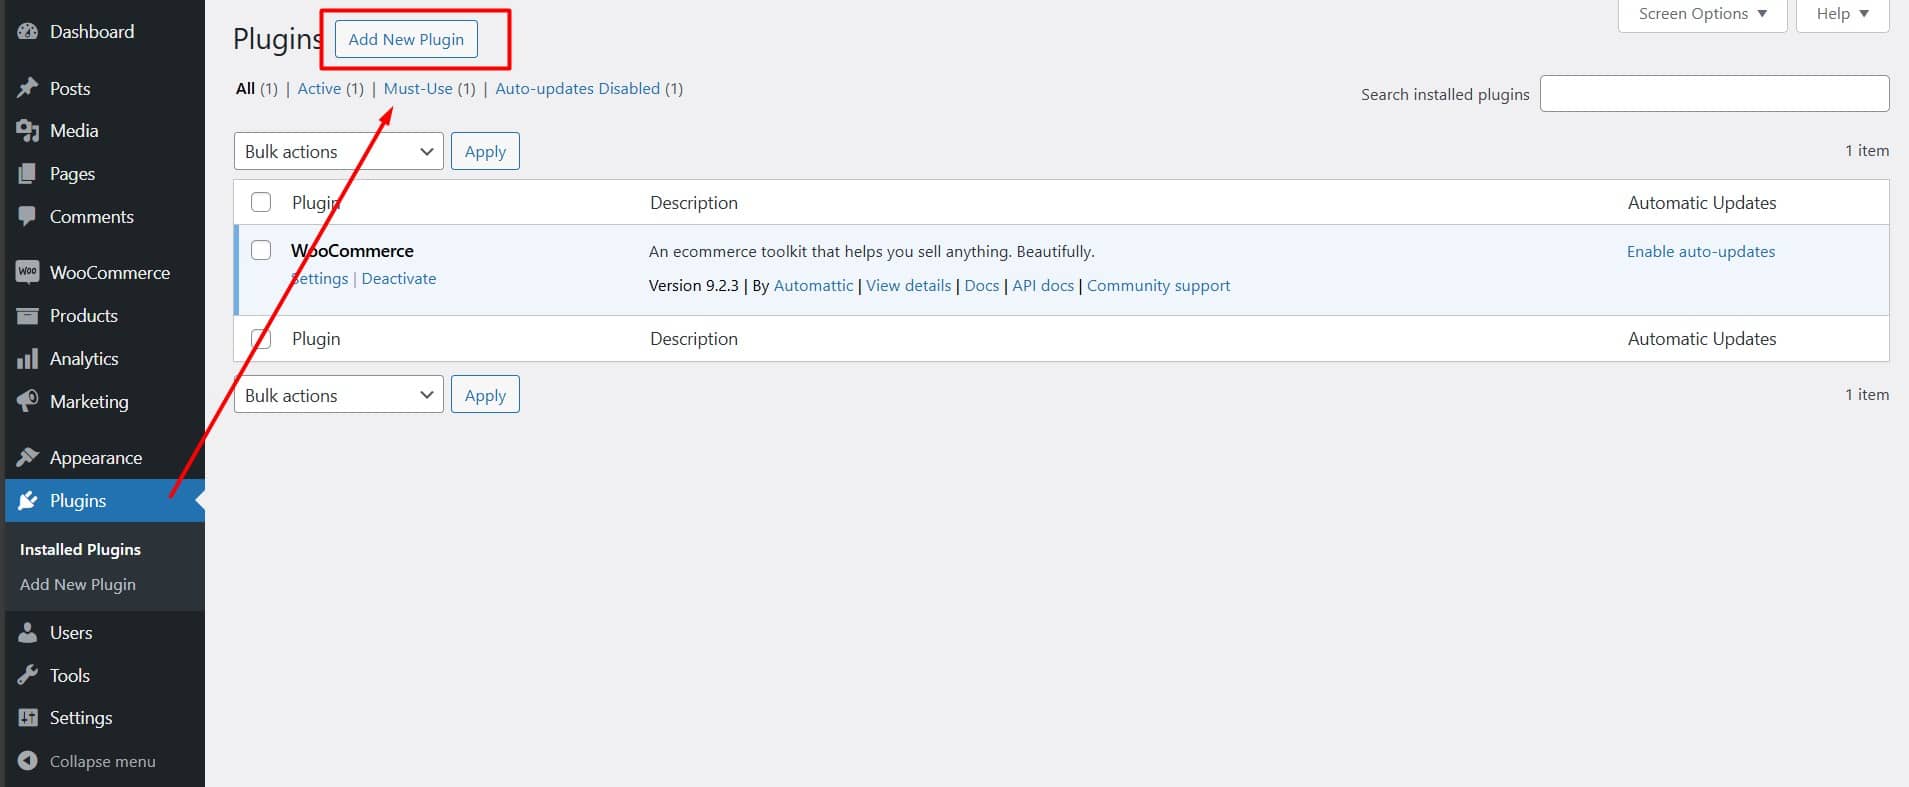
- To upload the plugin file, click the Upload Plugin button at the top left.
- Next, click Choose File and select the plugin file from your download directory.
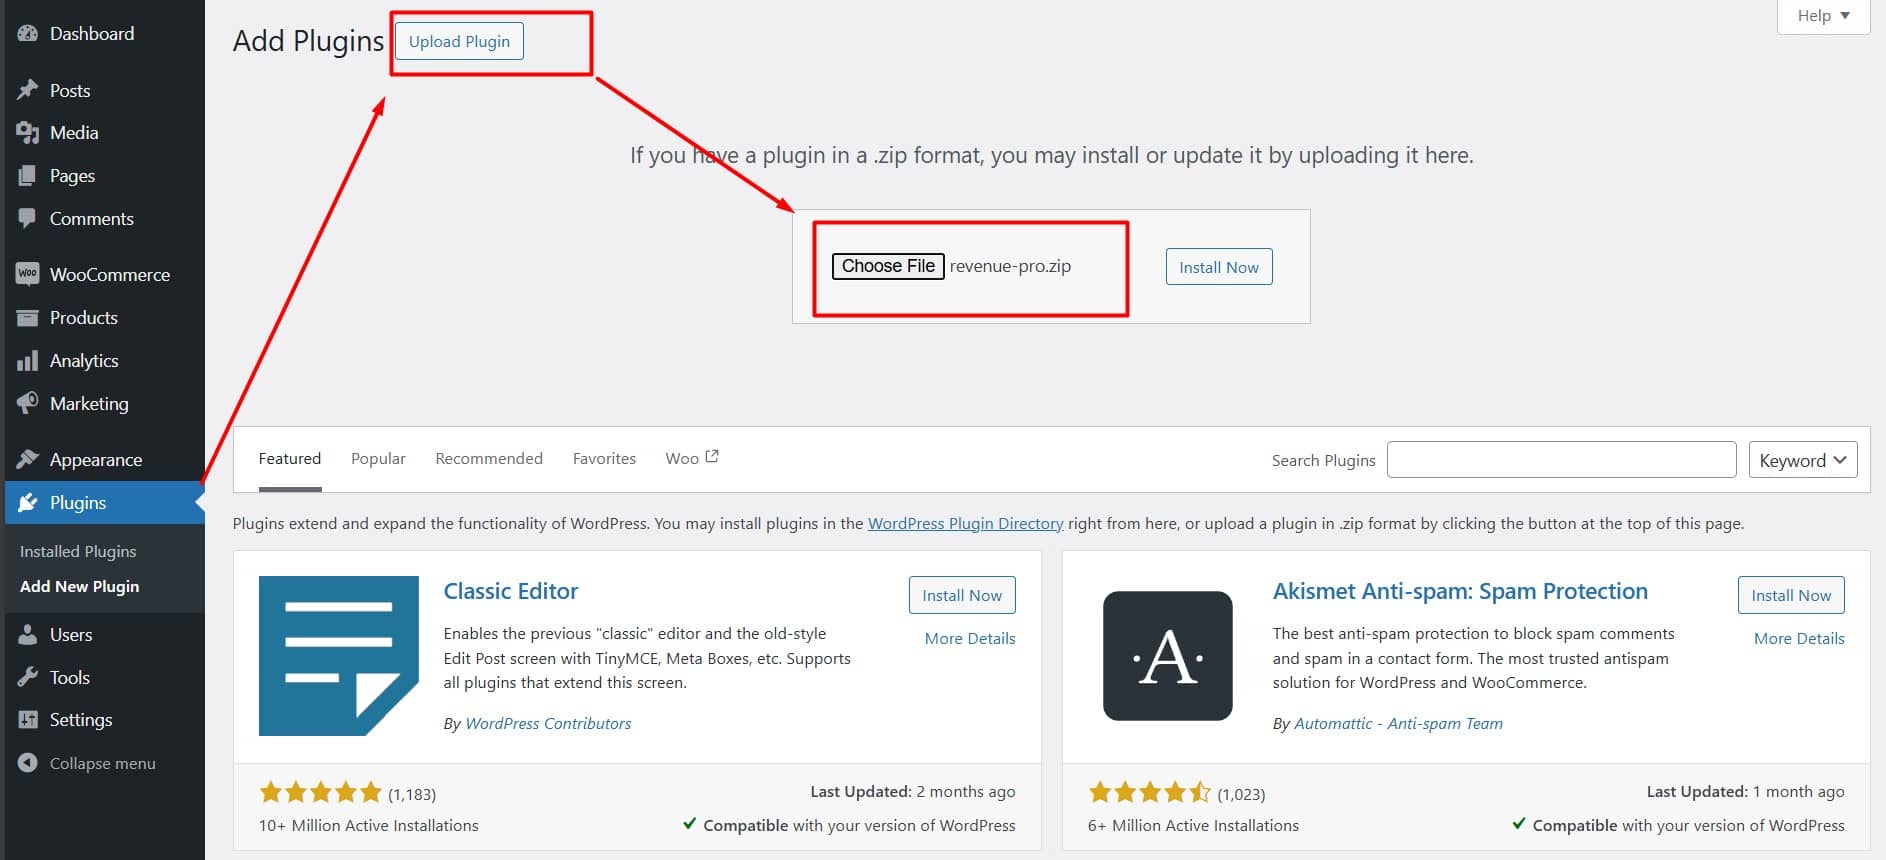
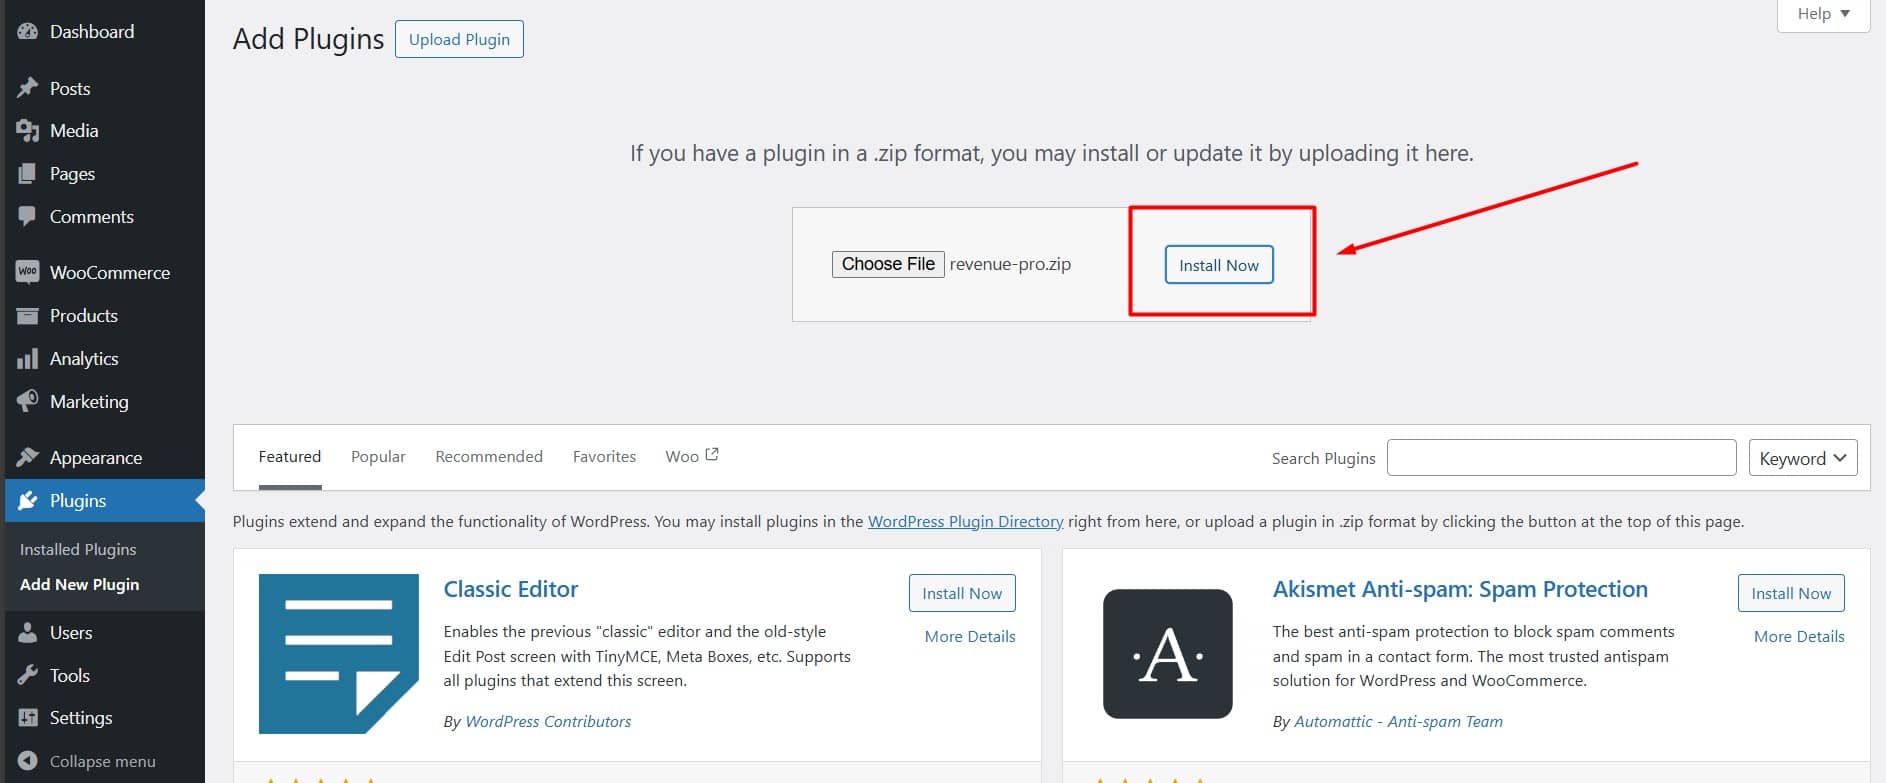
- Now you can install the WowRevenue plugin.
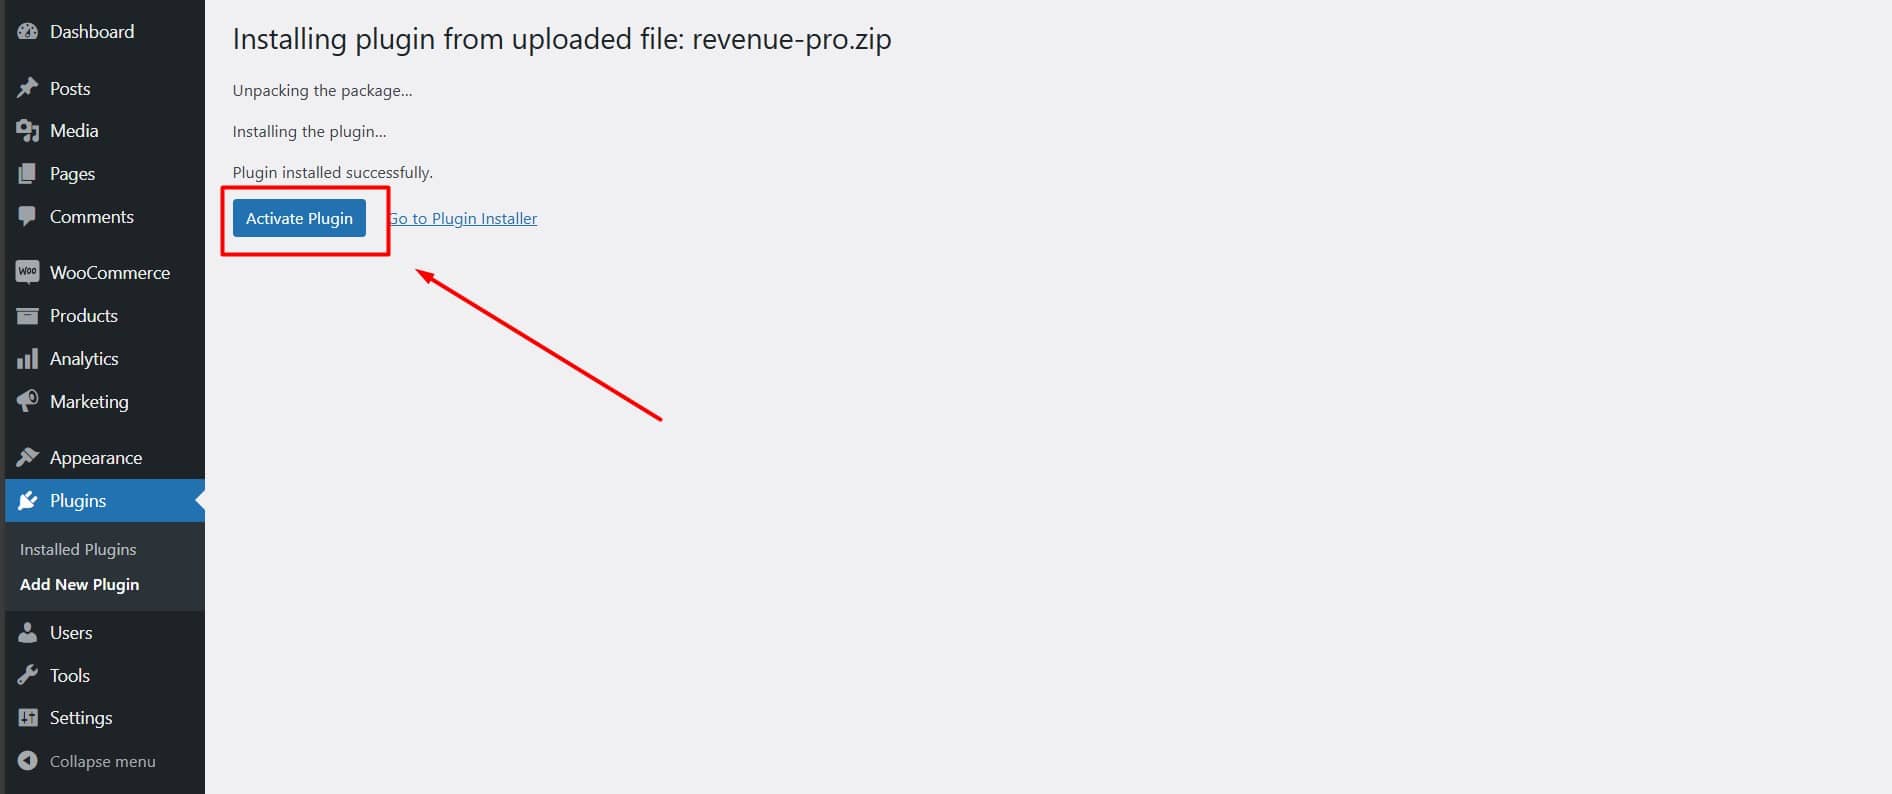
- After installation, activate the plugin.
- Then, copy the license key from your WPXPO dashboard.
- Finally, go to WowRevenue > License, paste the key, and click Activate.
Installation and Licensing of Free Version
For installing the free version, you can choose between two installation methods: automatic or manual. The Automatic method is the easiest way to install WowRevenue.
Automatic Installation
To use WowRevenue for free, go to the Plugins section on your WordPress dashboard.
- Then, click on the Add Plugin tab.
- In the search bar, type WowRevenue.
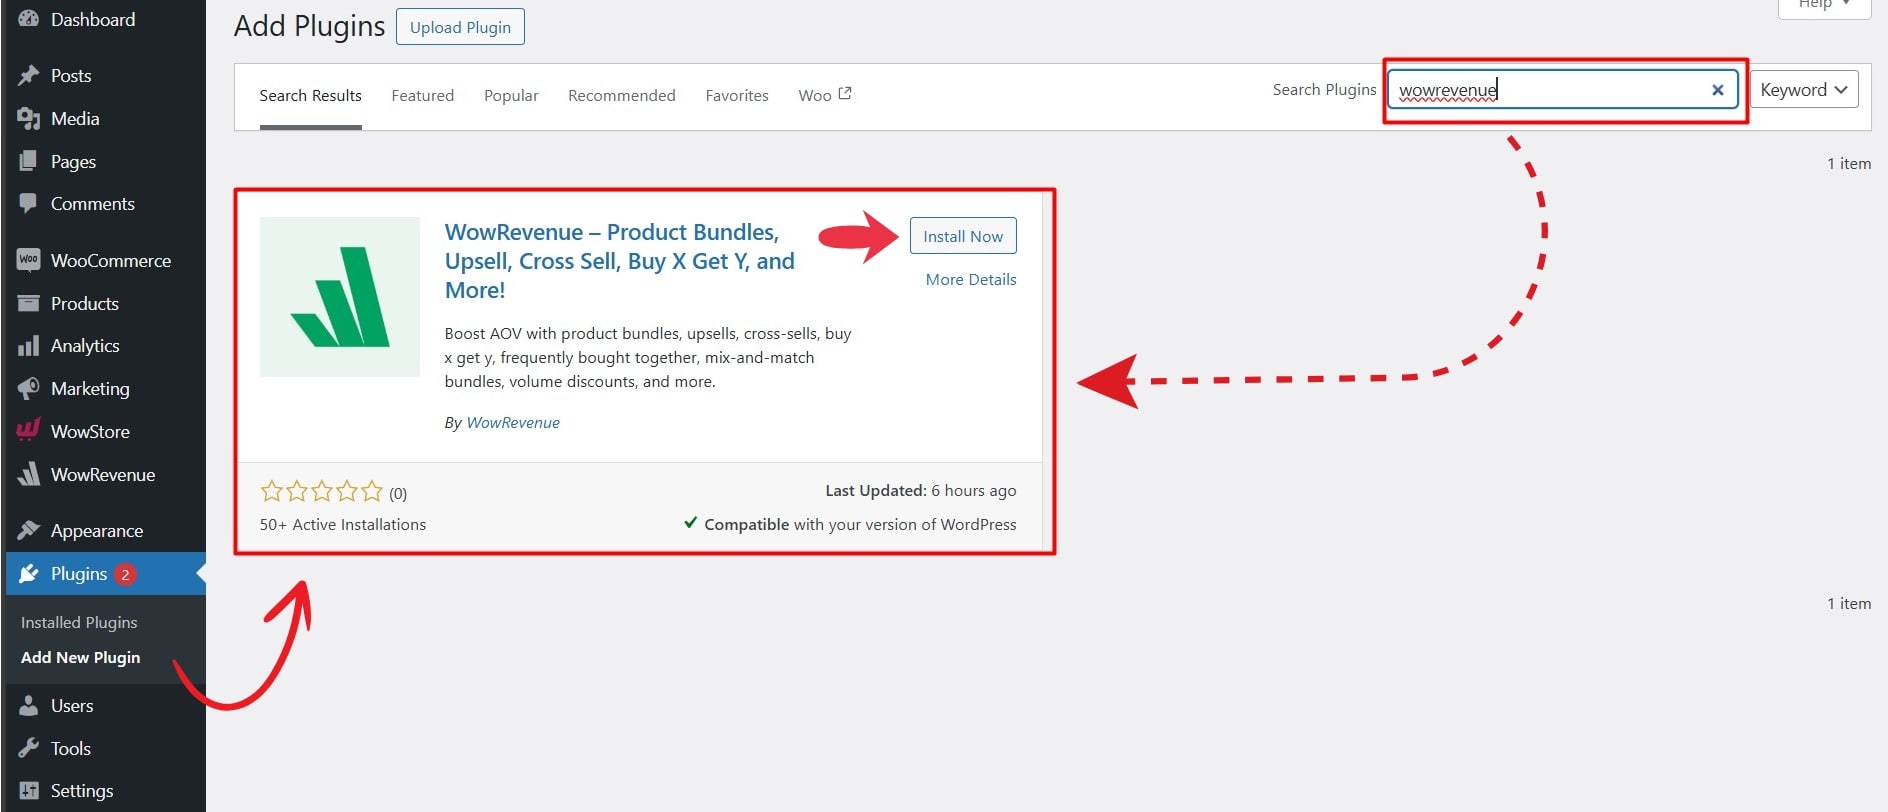
- Click Install Now next to the WowRevenue plugin.
- After installation, click Activate to start using the free version of WowRevenue.
Manual Installation
Manual installation requires downloading the plugin file first and then,
- Go to WordPress Dashboard > Plugins > Add Plugin
- Click on Upload Plugin
- Choose the WowRevenue plugin file from your device
- Click Install Now
- After installation, click Activate